- Home
- /
- Blogs
- /
- How to Transfer Items from Siemens NX to Business Central?
Step-by-Step Guide to Transfer Items from Siemens NX to Business Central
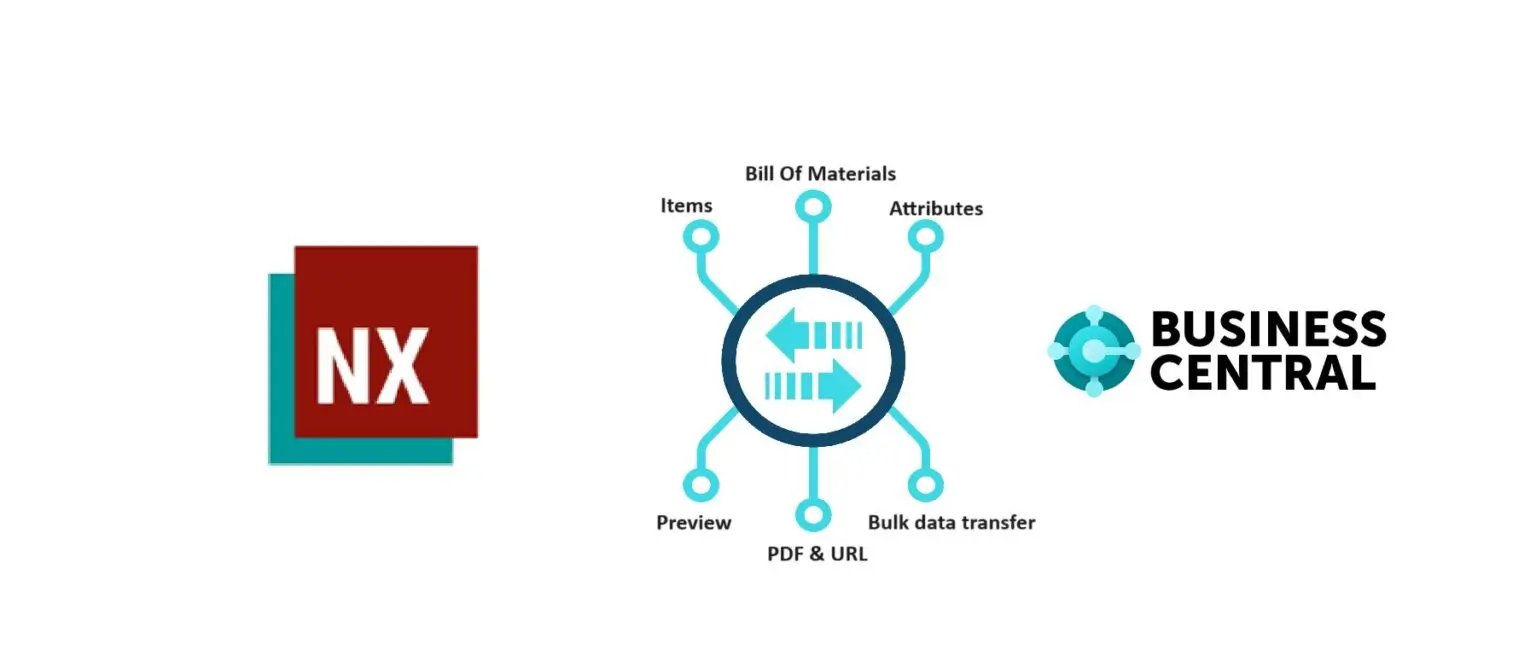
Managing product data across design and ERP systems is crucial for smooth business operations. If you’re using Siemens NX for product design and Microsoft Dynamics 365 Business Central for ERP, manual data transfer can become time-consuming and error-prone. To streamline this, PLM CAD UTILITIES AS provides a smart solution with NX2ERP integration.
This blog will guide you step by step on how to install NX2ERP and transfer items from Siemens NX to Business Central seamlessly.
Why Integrate Siemens NX with Business Central?
- Eliminate manual data entry and reduce errors
- Ensure real-time synchronization between design and ERP
- Save time on product data management
- Improve collaboration between engineering and business teams
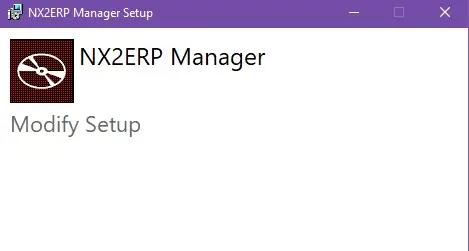
Step 1. Install NX2ERP
- To begin, install the NX2ERP add-on provided by PLM CAD UTILITIES AS.
- Once installed, you’ll notice a new tab in Siemens NX called “ERP Integration”.
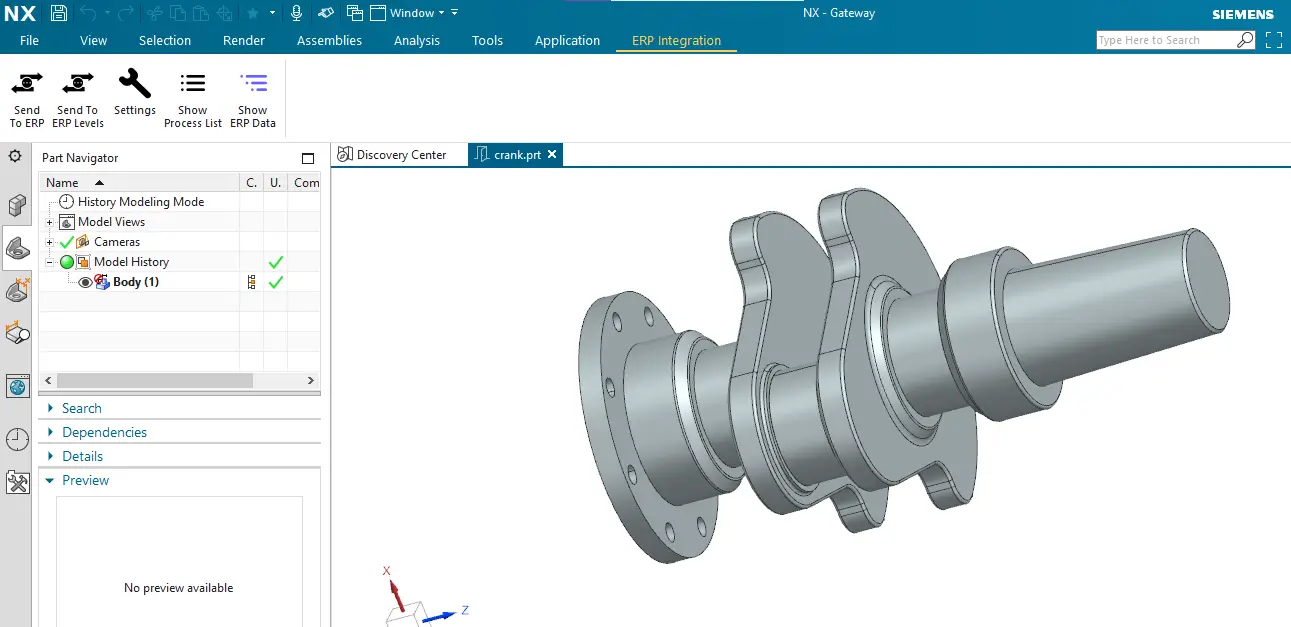
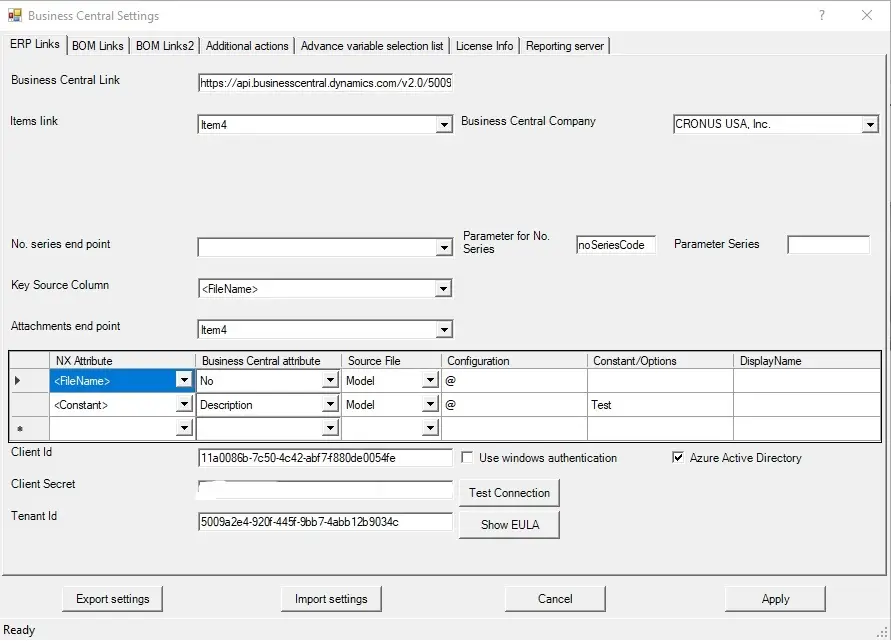
Step 2: Configure Integration Settings
- Open the ERP Integration tab.
- Configure the connection settings for Business Central.
- Use OData Web Services to establish the link between Siemens NX and Business Central.
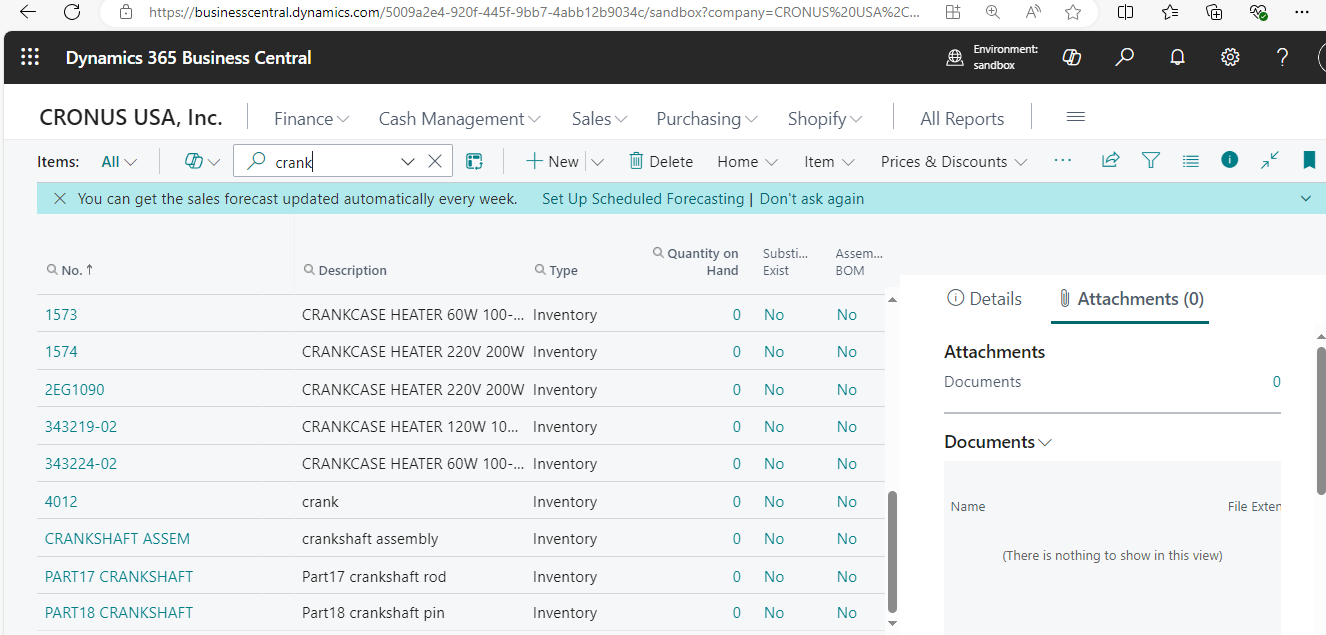
Step 3: Verify Item in Business Central
Before transferring any item, always check whether it already exists in Business Central.
- If the item does not exist, it will be newly created.
- If the item already exists, the system will update it instead of creating duplicates.
Step 4: Transfer Item Data
Now, you’re ready to send product information to Business Central. You have two options:
- Send to ERP → Transfers a single selected item
- Send to ERP All Levels → Transfers the item along with all sub-levels (BOM structure)

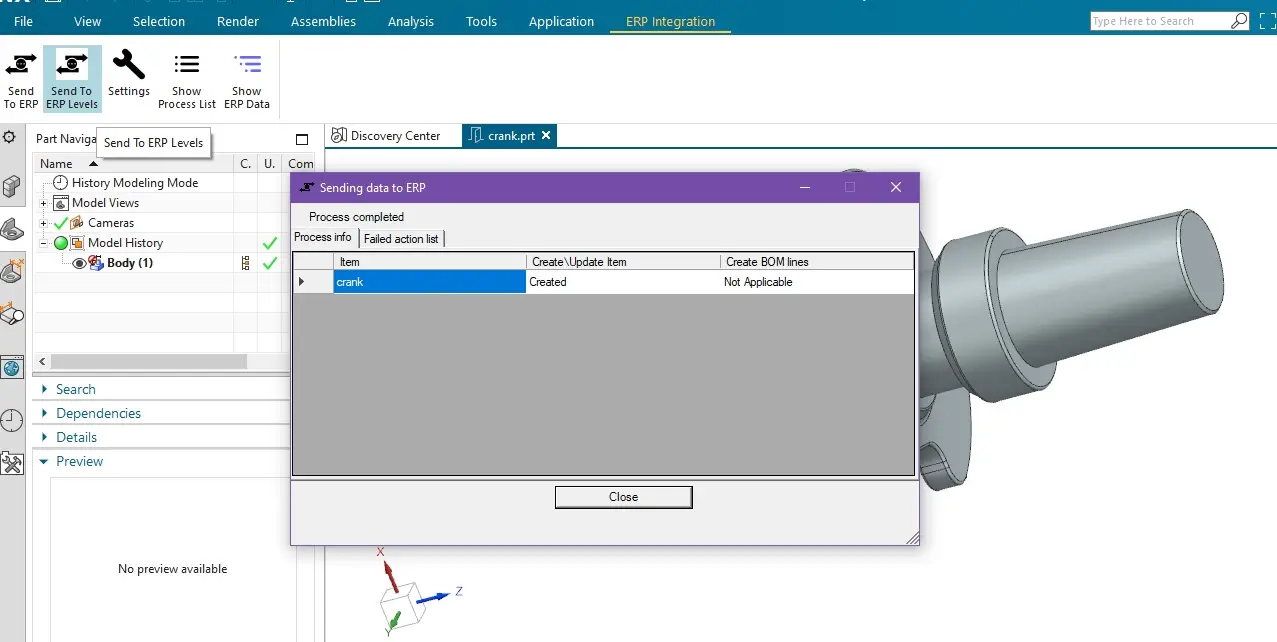
Step 5: Monitor the Process
During the transfer, a process dialog will display the status:
- Created → Item successfully created in Business Central.
- Updated → Item already exists and has been updated
- Failed → Any errors encountered during transfer
This ensures you always know what happened with each data transfer.
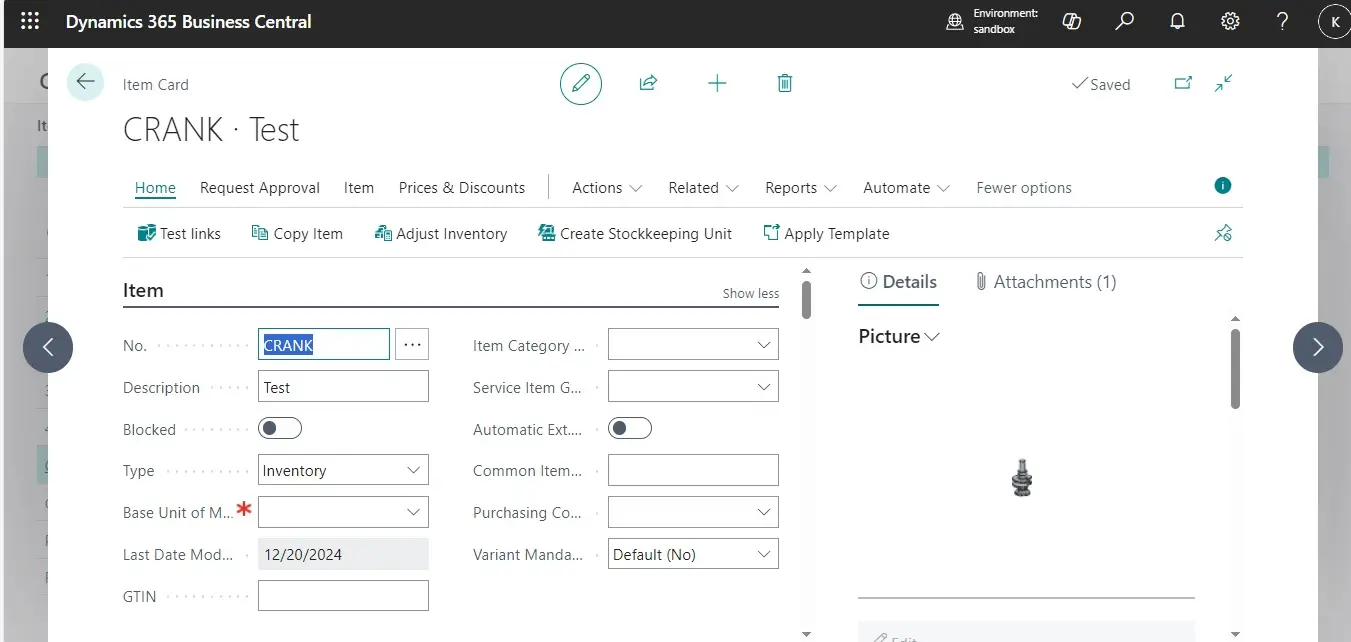
Step 6: Confirm in Business Central
Once the process is complete, log in to Business Central and verify that the product is successfully transferred. You’ll see the new or updated item details available for further ERP operations.
Conclusion
Integrating Siemens NX with Business Central using NX2ERP not only simplifies item transfers but also ensures accuracy and efficiency in managing product data. Instead of manual work, you now have a seamless, automated process that connects engineering and business systems.
If you’re looking for a smooth integration, NX2ERP by PLM CAD UTILITIES AS is a reliable and proven solution.
Watch the Demo
Our Recent Blogs
- How to transfer Bill of Materials from Siemens NX to Dynamics 365 F&O?
- How to transfer items from Siemens NX to Dynamics 365 F&O?
- How to transfer items from Siemens NX to Business Central?
- How to transfer bill of materials to Business Central from Siemens NX ?
- How to transfer items from Autodesk Vault to Business Central?
- How to transfer items from Teamcenter to Business Central
- How to transfer bill of materials from Teamcenter to Business Central
- How to transfer products to SAP S4 HANA from Teamcenter?
- How to transfer product to SAP S/4 HANA from Autodesk Vault?
- How to transfer bill of materials in SAP S4 HANA from Teamcenter?
Contact Us
Contact us today!
Easily integrate Teamcenter with Business Central using TC2ERP. Simple setup, cloud-ready, and powerful enough to manage complex BOM scenarios efficiently. Contact us today!