- Home
- /
- Blogs
- /
- How to Transfer Items from Autodesk Vault to Business Central?
Installing the AV2ERP Extension for Seamless Integration
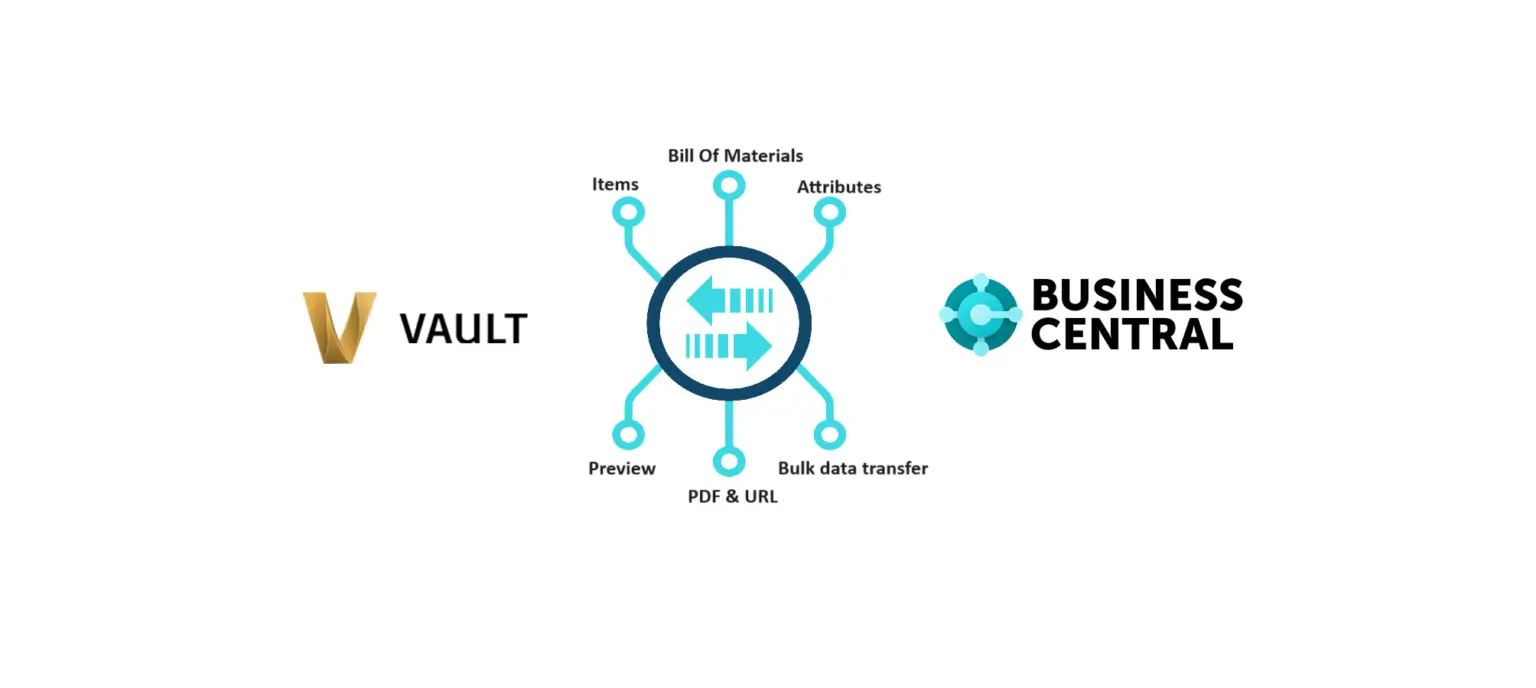
Integrating your design data with business operations can save a lot of time and reduce errors. If you are using Autodesk Vault for product data management and Microsoft Dynamics 365 Business Central for ERP, then connecting both systems becomes crucial.
That’s where AV2ERP, developed by PLM CAD Utilities AS, comes in. It seamlessly transfers your items from Autodesk Vault to Business Central, ensuring smooth synchronization between engineering and ERP workflows.
Why Integrate Autodesk Vault with Business Central?
- Eliminate manual entry: No more duplicate data entry between CAD and ERP.
- Save time: Speed up product lifecycle by automating data transfer.
- Reduce errors: Minimize mistakes that often occur with manual updates.
- Maintain consistency: Ensure design data matches your ERP records.
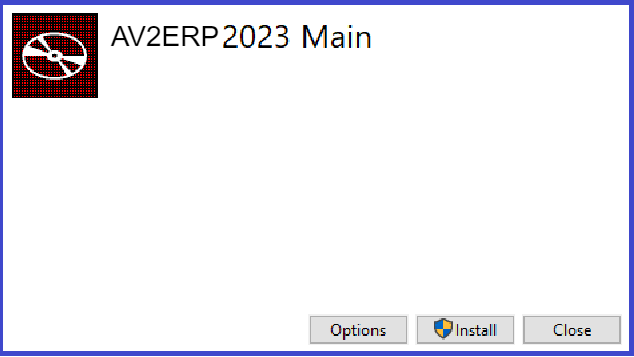
Step 1: Install AV2ERP Extension
- First, make sure you have the AV2ERP extension installed.
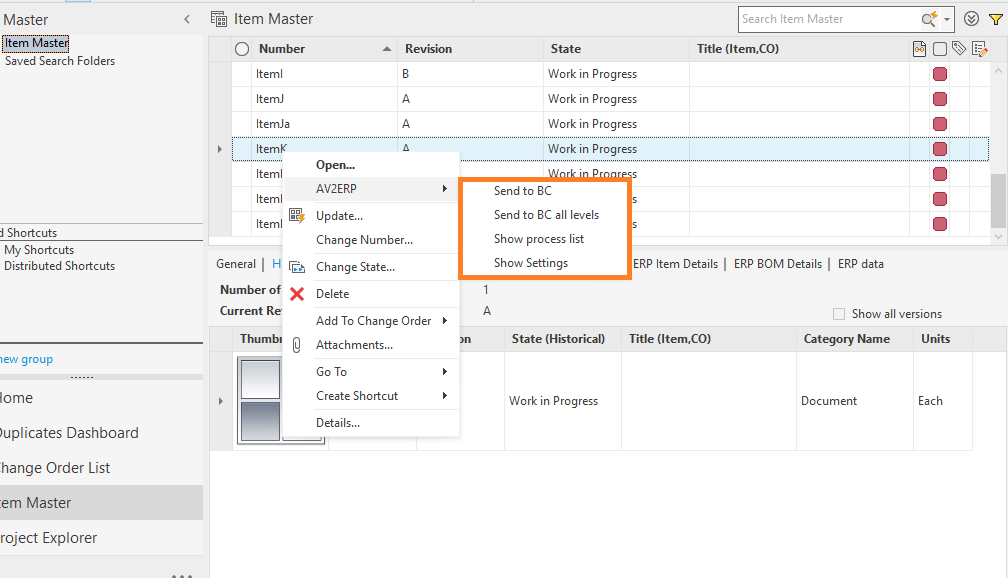
- Right-click on the item in Autodesk Vault and check for the highlighted options (as shown in the tool interface).
- If installed, you’ll see an option to open the integration settings.
Step 2: Configure Integration Settings
- Click on “Show Settings” to open the configuration dialog.
- Set up the connection with Business Central using OData web services.
- Ensure the connection is properly authenticated and mapped to the right Business Central environment.
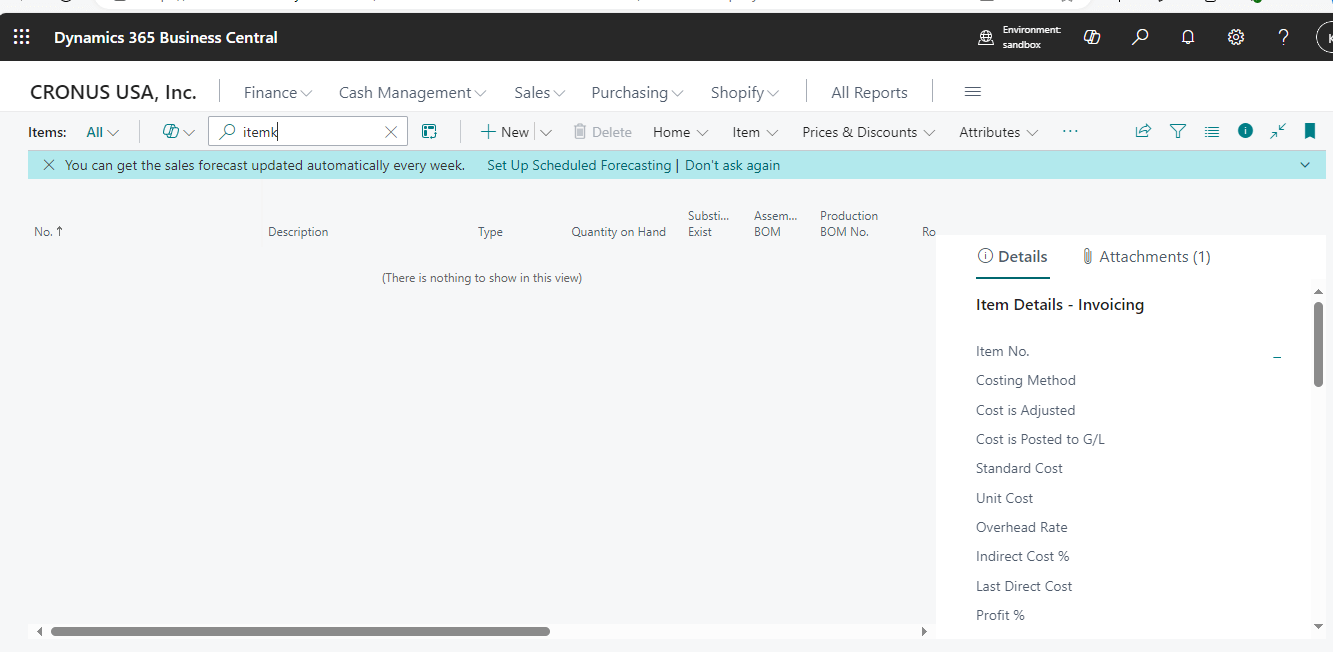
Step 3: Verify Item Availability in Business Central
- Before transferring, check if the item already exists in Business Central.
- If the item is not available, it’s ready to be transferred from Vault.
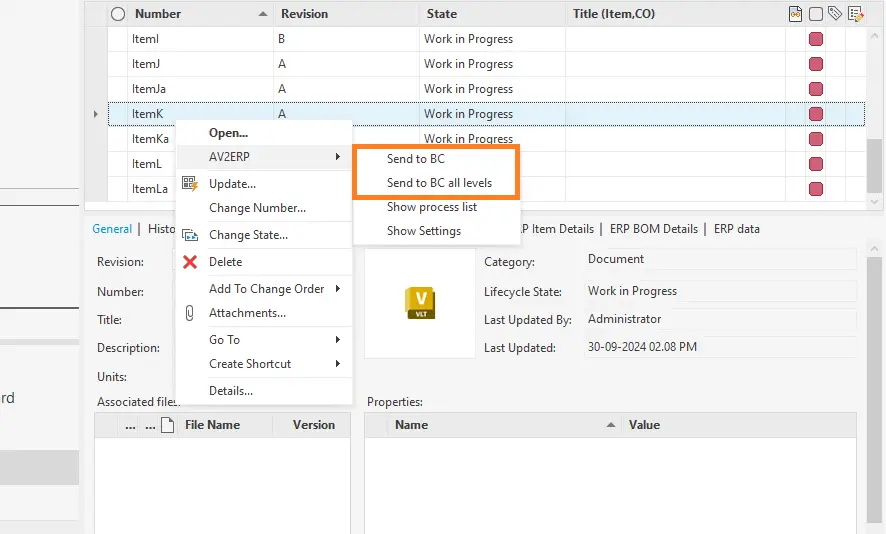
Step 4: Send Items to Business Central
- In Autodesk Vault, right-click on the item.
- Select either “Send to BC” (for a single item) or “Send to BC All Levels” (for the entire item structure).
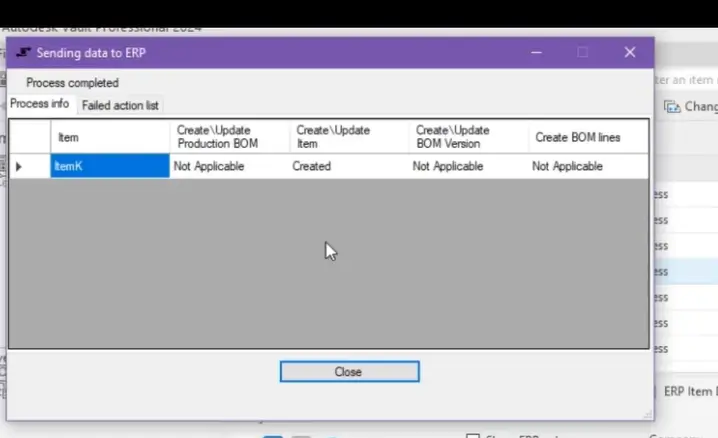
Step 5: Monitor Transfer Status
A process dialog will appear showing the status of the transfer.
- Created – Item newly created in Business Central.
- Updated – Item already existed and has been updated.
- Failed – If an error occurred during transfer.
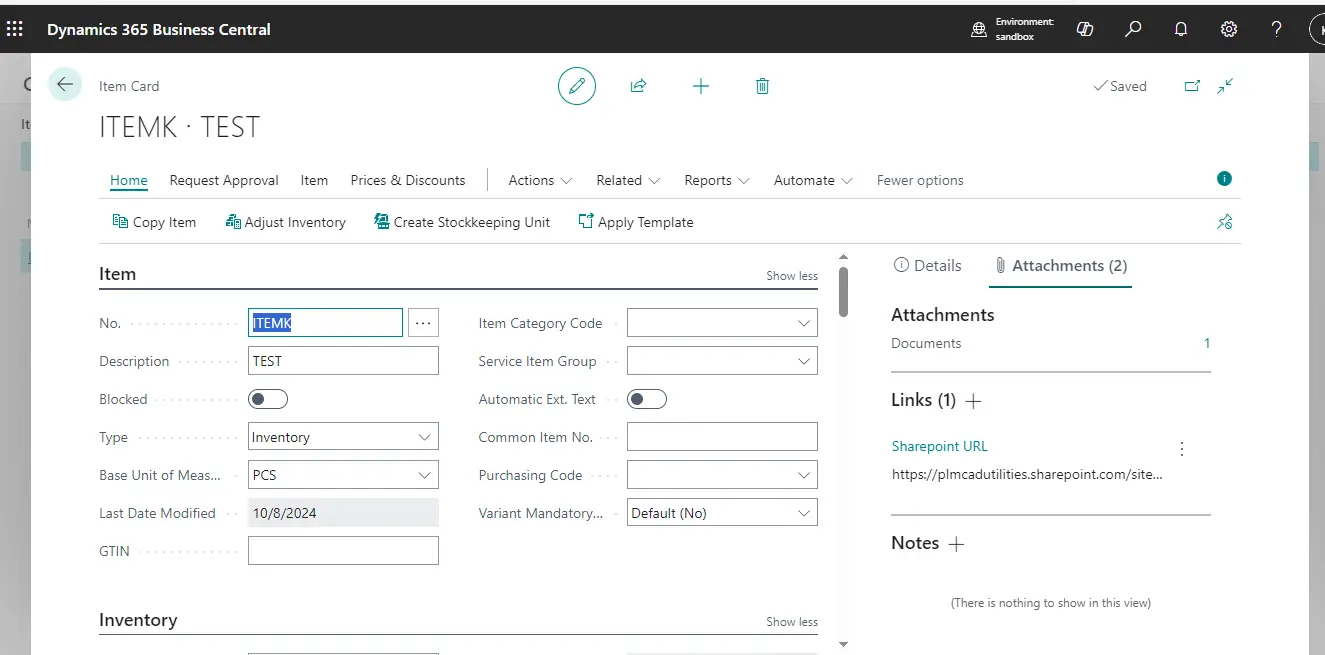
Step 6: Confirm Item in Business Central
- Finally, log in to Business Central and check the item list.
- The transferred item should now be available, fully synchronized with the data from Autodesk Vault.
Conclusion
By using AV2ERP Autodesk Vault to Business Central Integration, you can simplify your data flow between engineering and ERP. This not only saves valuable time but also ensures accuracy and reliability in your product lifecycle management.
👉 Looking to set up this integration for your team? Contact PLM CAD Utilities AS to learn more about implementation and support.
Watch the Demo
Our Recent Blogs
- How to transfer Bill of Materials from Siemens NX to Dynamics 365 F&O?
- How to transfer items from Siemens NX to Dynamics 365 F&O?
- How to transfer items from Siemens NX to Business Central?
- How to transfer bill of materials to Business Central from Siemens NX ?
- How to transfer items from Autodesk Vault to Business Central?
- How to transfer items from Teamcenter to Business Central
- How to transfer bill of materials from Teamcenter to Business Central
- How to transfer products to SAP S4 HANA from Teamcenter?
- How to transfer product to SAP S/4 HANA from Autodesk Vault?
- How to transfer bill of materials in SAP S4 HANA from Teamcenter?
Contact Us
Contact us today!
Easily integrate Teamcenter with Business Central using TC2ERP. Simple setup, cloud-ready, and powerful enough to manage complex BOM scenarios efficiently. Contact us today!